
What You Will Learn
- Matching abrasive type/size to optical glass families vs. crystalline substrates
- How substrate chemistry can shift slurry pH during polishing
- When to use hybrid or staged abrasive strategies
Simple Explanation
Polishing uses very small particles mixed with deionized water into a slurry, and a balanced chemistry. Different materials need different types of abrasive particles. Many glasses react well to ceria because it removes material mechanically and gently reacts with the glass material chemistry to make them smooth. Brittle metal materials like silicon, germanium, and metals, like colloidal silica has a finishing slurry. Hard crystals like sapphire need tougher abrasive materials such as alumina or diamond. A common approach is to start with a larger abrasive to shine the surface and maintain shape, then switch to a smaller abrasive particle size to improve surface quality.
Deeper Explanation
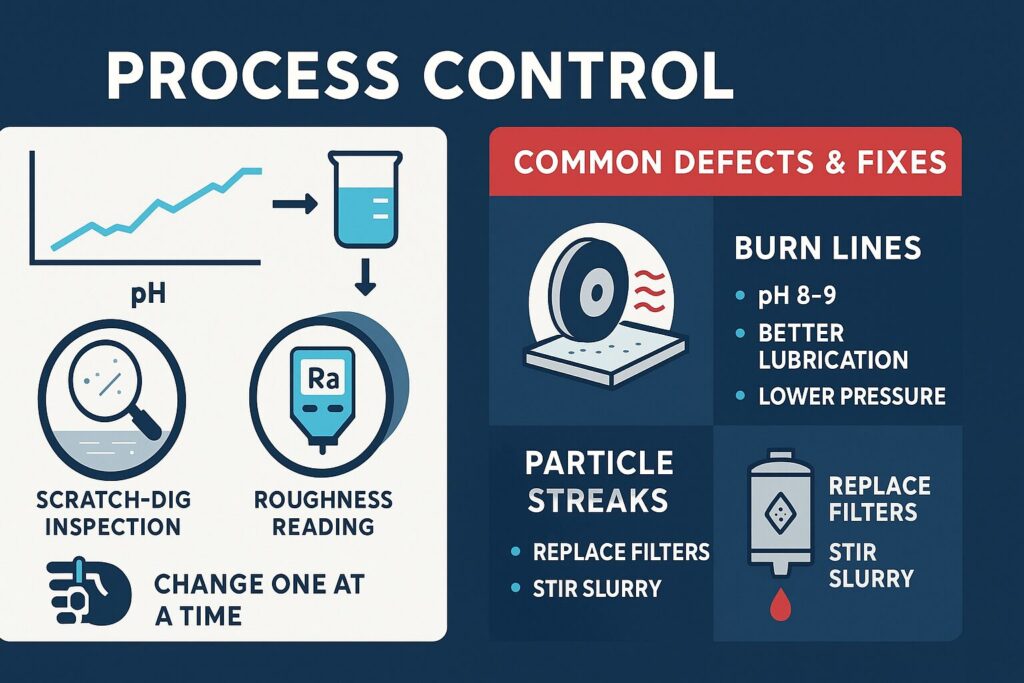 The material you polish can quietly change the slurry while you work. Some glasses contain alkaline ingredients that can push the slurry’s pH higher over time. When pH shifts, the particles may clump causing agglomeration. Which changes the APS (Average Particle Size) of the slurry compound. Smaller, tightly sized ceria particles usually leave a smoother finish because they have more consistent APS (Average Particle Size). Bigger particles remove material faster but may leave tiny scratches. Crystals like sapphire don’t react much with the ceria-based slurry, so you depend more on hard abrasives (alumina/diamond), pressure and speed.
Process Steps
First, figure out what the part is made of and how hard it is. Next, pick a smart starting slurry: ceria for many common glasses. For crystals, start with alumina or diamond and finish with colloidal silica for gentle final polishing. Use manufacturers recommended mixture ratio, starting pH; let the slurry recirculate to make sure it’s stable and well mixed. Evaluate the process results, if roughness is improving but small sleeks or scratches are present, step down to a smaller particle size, try a softer pitch, or reduce slurry concentration. It may be necessary to change to a finishing slurry. Documentation is key to repeat process control, keep notes so you can repeat what works.
Operator Tips
If the slurry’s pH creeps up during a long run on alkaline-containing glass, document the change over time and adjust with a mild buffer or refresh the tank so behavior stays consistent. Visual inspection comparing with a scratch-dig inspection standard and measuring surface roughness will quantify the process. Small changes in temperature, pressure, and time can impact the result. Follow scientific process control, change only one thing at a time and record the result.
Common Defects & Fixes
- Burn “orange peel” – Surface appears as shiny pitted texture, commonly seen through WLI (White Light Interferometry) Microscope, or with an inspection eye loupe. A mild increase in pH (around 8–9), better lubrication, and a gentle drop in pressure can cool things down and smooth the pass, could be too much friction and heat from the polisher. Check slurry concentration, add small relief grooves to the polisher facets to reduce surface area
- Sleeks “chicken scratches” “brush marks” – observed as small shiny lines on polished glass, could be too much friction and heat from the polisher. Check slurry concentration, add small relief grooves to the polisher facets to reduce surface area, try softer pitch or smaller polishing slurry APS.
- Occasional random scratching – poor filtration, contaminated slurry, or “tired” old slurry. Clean or replace filters, stir and refresh the mix, and make sure the particles stay evenly spread so they don’t clump and scratch. check slurry pH to reduce agglomeration of slurry particles. Check bevels on edge of part, be sure flakes of glass aren’t breaking free and skating across the surface.
- Poor material removal (long polishing time) – increase slurry APS, increase slurry concentration (Baume), increase pressure, use harder pitch, increase spindle speed, improve surface finish coming from previous operation (ensure excessive sub surface damage is removed)
- slurry stains on surface – clean surface with pH neutral surfactant or deionized water, check pH of slurry, understand chemical reactivity properties of glass being processed. Clean surfaces quickly after polishing is finished to reduce time and exposure to slurry. swab the surface with cotton swab, cotton ball, or lens cleaning wipe with polishing slurry to remove surface stains on glass.